Accessing DICOM data from the data lab computers
DICOM data in the ALBMC is now stored in a different location from user home directories. As a
result, it is no longer possible to mount the DICOM data with the necessary file
permissions on the data lab computers automatically. You must now manually mount the DICOM file system, just as
you would on any other computer.
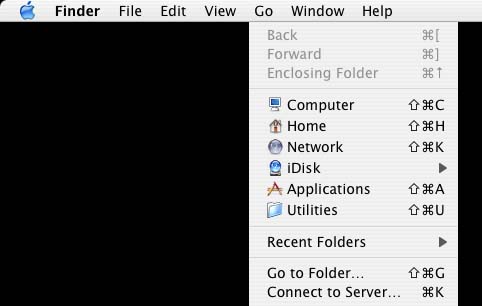
- From the Finder's "Go" Menu, choose "Connect to Server..."
- Enter "dns0.bmap.ucla.edu" in the Server Address field
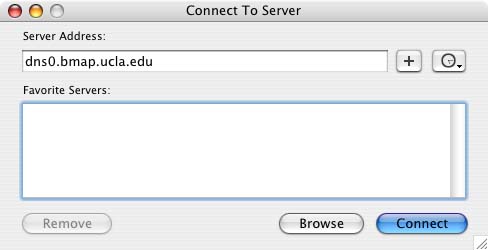
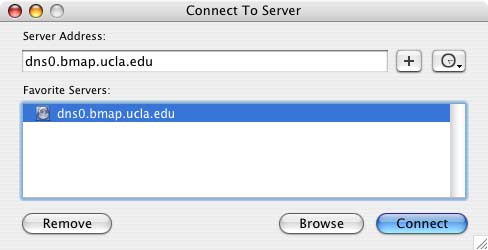
- For future convenience, press the "+" button so that the server will be added to your "Favorites"

This will allow you to just click on the server to automatically enter the name
- Press the "Connect" button
- For the data lab computers, your user name should be completed correctly and you need
only enter your usual data lab password
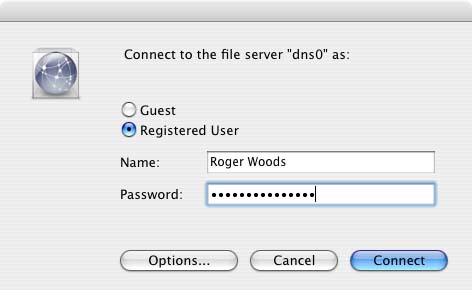
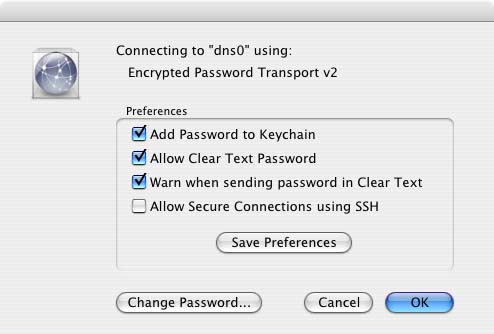
- If you want the password to be completed automatically in the future, press the "Options" button,
check the "Add Password to Keychain" button, and press "OK"
- Press the "Connect" button on the "Connect to file server dns0 as:" dialog"
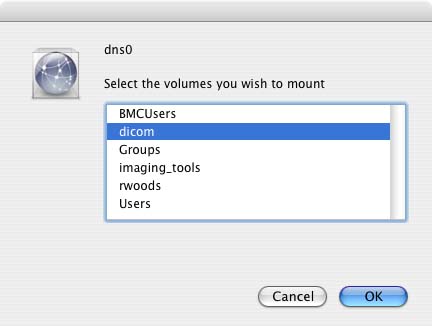
- For data acquired before April 1, 2008, select "dicom" as the volume that you wish to mount.
For data acquired on or after April 1, 2008, select "dicom2" as the volume that you wish to mount.
Press the "OK" button
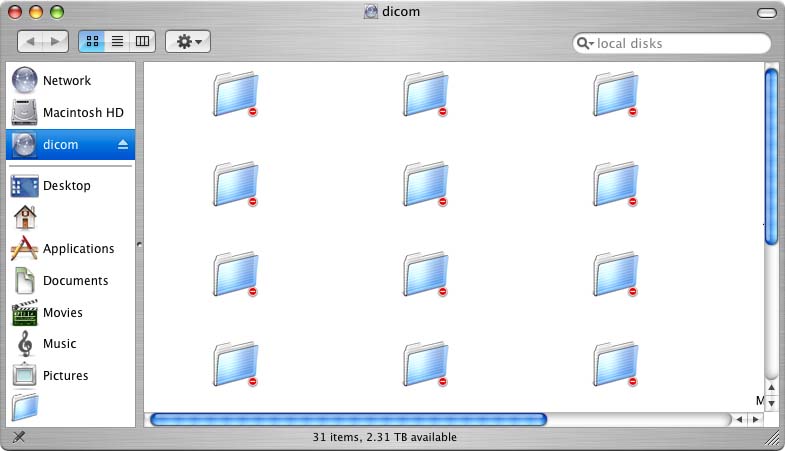
- Click on the "dicom" or "dicom2" icon in a Finder window to display the files in the directory.
Most of the files will have red minus signs indicating that you cannot access them because they
below to other people. You will
be able to access the folder of any group to which you belong. DICOM data will be stored
according to the group designated on the scanner prior to transfer.